WebAssembly 지원
WebAssembly 지원은 현재 실험적이며, 예상치 못한 오류가 발생할 수 있습니다. 오류가 발생하면 GitHub Issues 또는 Discord 채널을 통해 신고해 주시면 신속하게 처리하겠습니다.
Ailoy는 WebAssembly (WASM)을 사용하여 최신 웹 브라우저에서 에이전트를 완전히 실행할 수 있도록 지원합니다. 이를 통해 백엔드 없이 브라우저에서 직접 AI 워크로드를 실행할 수 있습니다.
주요 기능
- WebGPU로 가속되는 로컬 모델 실행 — LangModel과 EmbeddingModel 모두 지원
- 네이티브 환경과 동일하게 API 모델 사용
- 에이전트에 커스텀 Tool 또는 MCP Tool(스트리밍 가능한 HTTP 트랜스포트를 통해) 등록
- 벡터 스토어를 사용한 RAG 파이프라인 구축
이 가이드에서는 브라우저 기반 애플리케이션에서 ailoy-web을 설정하고 사용하는
방법을 안내합니다.
하드웨어 요구 사항
WebGPU로 로컬 모델을 실행하려면 시스템에 필요한 하드웨어 가속기와 드라이버가 설치되어 있어야 합니다. 자세한 내용은 지원 환경을 참조하세요.
- Apple Silicon이 탑재된 macOS: 완전히 지원되며, 일반적으로 별도의 설정 없이 작동합니다.
- NVIDIA 또는 AMD GPU가 있는 Windows / Linux: 최신 GPU 드라이버가 설치되어 있는지 확인하세요.
또한 WebGPU는 shader-f16과 같은 특정 기능을 지원해야 합니다.
isWebGPUSupported 유틸리티를 사용하여 설정을 빠르게 확인할 수 있습니다:
import { isWebGPUSupported } from "ailoy-web";

const { supported, reason } = await isWebGPUSupported();
if (supported) {
  // WebGPU가 지원됨
  console.log("✅ WebGPU is available!");
} else {
  // WebGPU가 지원되지 않음
  console.log(
    "❌ WebGPU is not available due to the following reason: ",
    reason
  );
}
WebGPU가 지원되지 않는 경우, 함수가 반환하는 reason 값을 사용하여 사용자에게
이유를 설명하는 명확한 메시지를 UI에 표시하는 것이 좋습니다.
간단한 채팅 UI 만들기
이 튜토리얼에서는 Ailoy를 사용하여 간단한 채팅 UI 애플리케이션을 만들어 보겠습니다. 전체 예제 코드는 저장소에서 확인할 수 있습니다.
Vite 설정 및 ailoy-web 설치
빠른 개발 환경과 최적화된 빌드를 위해 Vite를 사용하는 것이 좋습니다. Webpack, Rollup, Parcel 등 선호하는 다른 빌드 Tool을 사용할 수도 있습니다.
이 예제에서는 Vite를 사용하여 React + TypeScript 구성으로 프로젝트를 생성합니다.
npm create vite@latest를 실행하여 Vite 프로젝트를 생성합니다.
$ npm create vite@latest
> npx > create-vite
│ ◇ Project name: │ my-project │ ◇ Select a framework: │ React │ ◇ Select a variant: │ TypeScript │ ◇ Scaffolding project in /path/of/my-project... │ └ Done. Now run:
cd my-project npm install npm run dev
- 새 프로젝트로 이동하여
ailoy-web을 설치합니다. 이렇게 하면package.json에 미리 구성된 패키지도 함께 설치됩니다.
$ cd my-project $ npm install ailoy-web
added 265 packages, and audited 266 packages in 4s
64 packages are looking for funding run
npm fundfor detailsfound 0 vulnerabilities
- 최적의 성능과 호환성을 위해 다음 설정으로
vite.config.ts를 업데이트합니다:- 의존성 최적화에서
ailoy-web제외 (optimizeDeps.exclude) - 교차 출처 격리 활성화 (WASM 스레딩의
SharedArrayBuffer에 필요) ailoy-web을 별도의 빌드 청크로 그룹화하여 번들 크기 최적화
- 의존성 최적화에서
import react from "@vitejs/plugin-react";
import { defineConfig } from "vite";

export default defineConfig({
  plugins: [react()],
  optimizeDeps: {
    exclude: ["ailoy-web"],
  },
  server: {
    headers: {
      "Cross-Origin-Embedder-Policy": "require-corp",
      "Cross-Origin-Opener-Policy": "same-origin",
    },
  },
  build: {
    rollupOptions: {
      output: {
        manualChunks: {
          ailoy: ["ailoy-web"],
        },
      },
    },
  },
});
assistant-ui 설치 및 구성
이 빠른 데모에서는 기본 채팅 인터페이스를 만들기 위해 assistant-ui 패키지를 사용합니다.
이 패키지는 shadcn에 의존하므로 먼저 설정해야 합니다. shadcn 문서의 가이드를 따르세요.
tsconfig.json을 수정합니다.
{
  "files": [],
  "references": [
    {
      "path": "./tsconfig.app.json"
    },
    {
      "path": "./tsconfig.node.json"
    }
  ],
  "compilerOptions": {
    "baseUrl": ".",
    "paths": {
      "@/*": ["./src/*"]
    }
  }
}
tsconfig.app.json을 수정합니다.
{
  "compilerOptions": {
    // ...
    "baseUrl": ".",
    "paths": {
      "@/*": ["./src/*"]
    }
    // ...
  }
}
tailwind를 설치하고vite.config.ts를 업데이트합니다.
$ npm install --save-dev tailwindcss @tailwindcss/vite @types/node
added 22 packages, and audited 215 packages in 3s
51 packages are looking for funding run
npm fundfor detailsfound 0 vulnerabilities
import path from "node:path";
import tailwindcss from "@tailwindcss/vite";
import react from "@vitejs/plugin-react";
import { defineConfig } from "vite";

// https://vite.dev/config/
export default defineConfig({
  plugins: [react(), tailwindcss()],
  resolve: {
    alias: {
      "@": path.resolve(__dirname, "./src"),
    },
  },
  // 기타 설정
});
- tailwindcss를 사용하도록
src/index.css를 업데이트합니다.
@import "tailwindcss";
assistant-ui를 설치하고 thread 컴포넌트를 추가합니다.npx assistant-ui add thread
$ npx assistant-ui add thread
✔ You need to create a components.json file to add components. Proceed? … yes
✔ Which color would you like to use as the base color? › Neutral
✔ Writing components.json.
✔ Checking registry.
✔ Installing dependencies.
✔ Created 6 files:
- src/components/assistant-ui/thread.tsx
- src/components/assistant-ui/markdown-text.tsx
- src/components/assistant-ui/tooltip-icon-button.tsx
- src/components/assistant-ui/tool-fallback.tsx
- src/components/ui/button.tsx
- src/components/ui/tooltip.tsx
assistant-ui의 thread에 필요한framer-motion패키지를 설치합니다.npm install framer-motion
$ npm install framer-motion
up to date, audited 374 packages in 696ms
141 packages are looking for funding run
npm fundfor detailsfound 0 vulnerabilities
"verbatimModuleSyntax": true설정으로 인해 컴파일 오류를 방지하려면src/components/assistant-ui/tool-fallback.tsx를 수정해야 합니다.
import type { ToolCallMessagePartComponent } from "@assistant-ui/react";
import { CheckIcon, ChevronDownIcon, ChevronUpIcon } from "lucide-react";

// ...
구현
assistant-ui의 ExternalStoreRuntime 기능을 사용하여 Ailoy 형식으로 저장된 원시 메시지 상태에서 변환된 메시지를 가져옵니다.
- Ailoy의
Message와MessageDelta를 assistant-ui의useExternalMessageConverter.Message로 변환하는 로직을 작성하는 것부터 시작합니다.src/AiloyRuntimeProvider.tsx를 생성하고 다음 코드를 작성합니다:
import { useExternalMessageConverter } from "@assistant-ui/react";
import * as ai from "ailoy-web";

function imageDataToBase64(arr: Uint8Array): string {
  let binaryString = "";
  arr.forEach((byte) => {
    binaryString += String.fromCharCode(byte);
  });
  const base64String = btoa(binaryString);
  return base64String;
}

function convertMessage(
  message: ai.Message
): useExternalMessageConverter.Message {
  if (message.role === "user") {
    return {
      role: message.role,
      content: message.contents.map((part) => {
        if (part.type === "text") return part;
        else if (part.type === "image") {
          if (part.image.type === "binary") {
            return {
              type: "image",
              image: `data:image/png;base64,${imageDataToBase64(
                part.image.data
              )}`,
            };
          } else {
            return { type: "image", image: part.image.url };
          }
        } else if (part.type === "value")
          return { type: "text", text: part.value!.toString() };
        else throw Error("Unknown content type");
      }),
    };
  } else if (message.role === "assistant") {
    let contents = [];
    if (message.thinking) {
      contents.push({
        type: "reasoning",
        text: message.thinking,
      });
    }
    if (message.tool_calls) {
      for (const toolCall of message.tool_calls) {
        if (toolCall.type !== "function")
          throw new Error("tool call content should be a type of function");
        contents.push({
          type: "tool-call",
          toolCallId: toolCall.id,
          toolName: toolCall.function.name,
          args: toolCall.function.arguments,
        });
      }
    }
    for (const content of message.contents) {
      if (content.type === "text") {
        contents.push(content);
      }
    }
    return {
      role: message.role,
      content: contents,
    } as useExternalMessageConverter.Message;
  } else if (message.role === "tool") {
    let toolResult: string;
    if (message.contents[0].type === "text") {
      toolResult = message.contents[0].text;
    } else if (message.contents[0].type === "value") {
      toolResult = JSON.stringify(message.contents[0].value);
    } else {
      throw new Error("Tool result should be either text or value.");
    }
    return {
      role: "tool",
      toolCallId: message.id,
      result: toolResult,
    } as useExternalMessageConverter.Message;
  } else {
    throw new Error(`Unknown message type: ${message}`);
  }
}

function convertMessageDelta(
  delta: ai.MessageDelta
): useExternalMessageConverter.Message {
  if (delta.role === "assistant") {
    let contents = [];
    if (delta.thinking !== undefined) {
      contents.push({
        type: "reasoning",
        text: delta.thinking,
      });
    }
    if (delta.tool_calls.length > 0) {
      for (const toolCall of delta.tool_calls) {
        if (toolCall.type !== "function")
          throw new Error("tool call content should be a type of function");
        if (toolCall.function.type === "verbatim") {
          contents.push({ type: "text", text: toolCall.function.text });
        } else if (toolCall.function.type === "with_string_args") {
          contents.push({
            type: "text",
            text: `{"name": "${toolCall.function.name}", "arguments": ${toolCall.function.arguments}}`,
          });
        } else {
          contents.push({
            type: "text",
            text: `{"name": "${toolCall.function.name}", "arguments": ${toolCall.function.arguments}}`,
          });
        }
      }
    }
    for (const content of delta.contents) {
      if (content.type === "text") {
        contents.push(content);
      }
    }
    return {
      role: "assistant",
      content: contents,
    } as useExternalMessageConverter.Message;
  } else if (delta.role === "tool") {
    let toolResult: string;
    if (delta.contents[0].type === "text") {
      toolResult = delta.contents[0].text;
    } else if (delta.contents[0].type === "value") {
      toolResult = JSON.stringify(delta.contents[0].value);
    } else {
      throw new Error("Tool result should be either text or value.");
    }
    return {
      role: "tool",
      toolCallId: delta.id,
      result: toolResult,
    } as useExternalMessageConverter.Message;
  } else {
    // 이 경우는 빈 어시스턴트 메시지로 간주
    return {
      role: "assistant",
      content: [],
    };
  }
}
- 다음과 같이
AiloyRuntimeProvider컴포넌트를 작성합니다:
"use client";

import { useState, useEffect, useMemo, type ReactNode } from "react";
import {
  AssistantRuntimeProvider,
  useExternalStoreRuntime,
  useExternalMessageConverter,
  type AppendMessage,
} from "@assistant-ui/react";
import * as ai from "ailoy-web";

/// 변환 로직

export function AiloyRuntimeProvider({
  children,
}: Readonly<{ children: ReactNode }>) {
  const [agent, setAgent] = useState<ai.Agent | undefined>(undefined);
  const [agentLoading, setAgentLoading] = useState<boolean>(false);
  // 완성된 메시지를 저장
  const [messages, setMessages] = useState<ai.Message[]>([]);
  // 진행 중인 누적 메시지 델타를 저장
  const [ongoingMessage, setOngoingMessage] = useState<ai.MessageDelta | null>(
    null
  );
  const [isAnswering, setIsAnswering] = useState<boolean>(false);

  useEffect(() => {
    (async () => {
      // 먼저 WebGPU 사용 가능 여부 확인
      const { supported, reason } = await ai.isWebGPUSupported();
      if (!supported) {
        alert(`WebGPU is not supported: ${reason!}`);
        return;
      }

      setAgentLoading(true);

      // 로컬 LangModel로 에이전트 초기화
      const agent = new ai.Agent(
        await ai.LangModel.newLocal("Qwen/Qwen3-0.6B")
      );
      setAgent(agent);

      setAgentLoading(false);
    })();
  }, []);

  const onNew = async (message: AppendMessage) => {
    if (agent === undefined) throw new Error("Agent is not initialized yet");

    // 텍스트 콘텐츠 추가
    if (message.content[0]?.type !== "text")
      throw new Error("Only text messages are supported");

    // 새 사용자 메시지 추가
    const newMessage: ai.Message = {
      role: "user",
      contents: [{ type: "text", text: message.content[0].text }],
    };
    setMessages((prev) => [...prev, newMessage]);

    setIsAnswering(true);
    let accumulated: ai.MessageDelta | null = null;
    for await (const { delta, finish_reason } of agent.runDelta([
      ...messages,
      newMessage,
    ])) {
      // 누적된 메시지 델타 저장
      accumulated =
        accumulated === null
          ? delta
          : ai.accumulateMessageDelta(accumulated, delta);
      setOngoingMessage(accumulated);

      // `finish_reason`이 도착하면 델타를 완성하고 메시지에 추가
      if (finish_reason !== undefined) {
        let newMessage = ai.finishMessageDelta(accumulated);
        setMessages((prevMessages) => [...prevMessages, newMessage]);
        setOngoingMessage(null);
        accumulated = null;
      }
    }
    setIsAnswering(false);
  };

  // 원시 메시지와 메시지 델타에서 파생된 변환된 메시지
  const convertedMessages: useExternalMessageConverter.Message[] =
    useMemo(() => {
      let converted = messages.map(convertMessage);
      if (ongoingMessage !== null) {
        let convertedDelta = convertMessageDelta(ongoingMessage);
        converted = [...converted, convertedDelta];
      }
      return converted;
    }, [messages, ongoingMessage]);

  // ExternalStoreRuntime 생성
  const runtime = useExternalStoreRuntime({
    isLoading: agentLoading,
    isDisabled: agent === undefined,
    isRunning: isAnswering,
    messages: useExternalMessageConverter({
      messages: convertedMessages,
      callback: (msg) => msg,
      isRunning: isAnswering,
    }),
    onNew,
  });

  return (
    <AssistantRuntimeProvider runtime={runtime}>
      {children}
    </AssistantRuntimeProvider>
  );
}
<AiloyRuntimeProvider>안에<Thread />를 감싸도록src/App.tsx를 업데이트합니다.
import { Thread } from "@/components/assistant-ui/thread";
import { AiloyRuntimeProvider } from "./AiloyRuntimeProvider";

function App() {
  return (
    <AiloyRuntimeProvider>
      <Thread />
    </AiloyRuntimeProvider>
  );
}

export default App;
- React의
<StrictMode>는 개발 중에 컴포넌트가 두 번 마운트될 수 있습니다. 중복 상태 업데이트를 피하려면src/main.tsx에서<StrictMode>를 제거합니다:
// import { StrictMode } from 'react'
import { createRoot } from 'react-dom/client'
import './index.css'
import App from './App.tsx'

createRoot(document.getElementById('root')!).render(
  // <StrictMode>
    <App />
  // </StrictMode>,
)
npm run dev로 개발 서버를 시작합니다.
$ npm run dev
VITE v7.1.1 ready in 318 ms
➜ Local: http://localhost:5173/ ➜ Network: use --host to expose ➜ press h + enter to show help
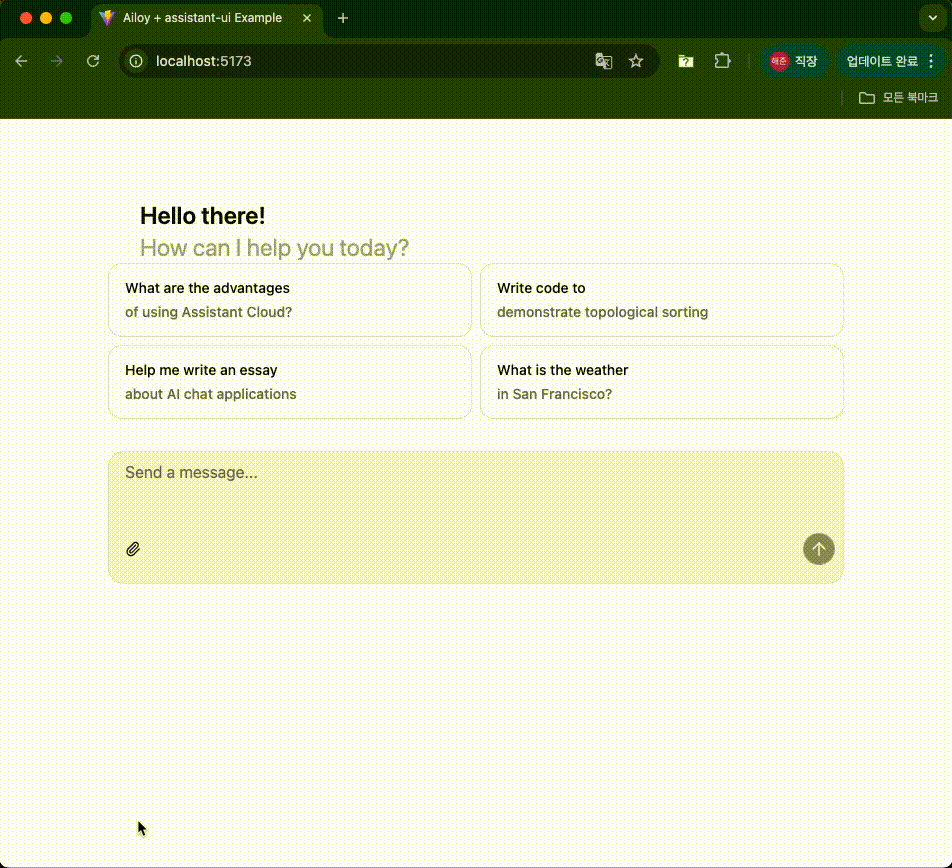
- http://localhost:5173 에 접속하면 채팅 UI가 실행됩니다.
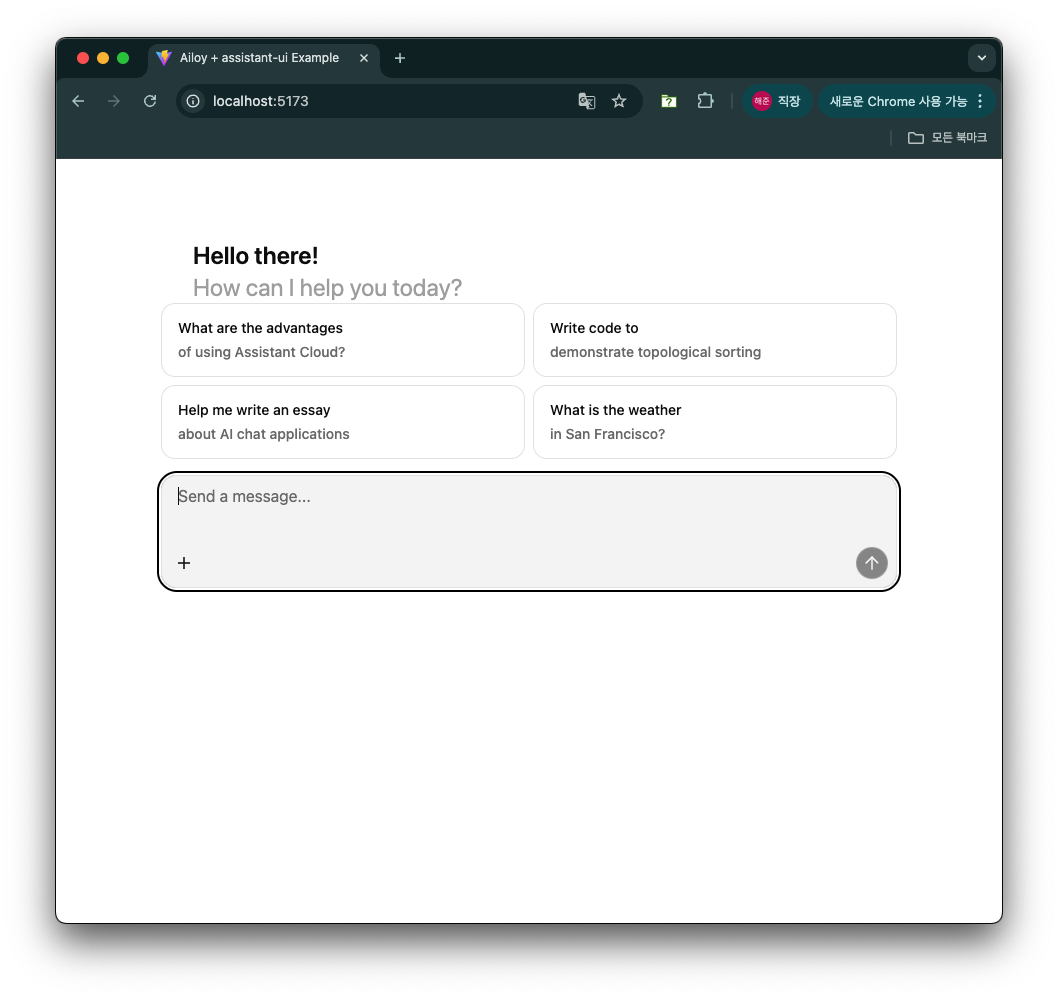
에이전트가 처음 초기화될 때 Ailoy의 파일 서버에서 모델 파라미터가 다운로드됩니다. 이 파일들은 브라우저의 Origin Private File System(OPFS)에 저장되며, 이는 출처별로 격리되어 브라우저가 내부적으로 관리합니다.
초기화가 완료되면 에이전트와 채팅을 시작할 수 있습니다.
- 웹 브라우저에서 실행되는 에이전트와 대화를 시작해 보세요.
축하합니다! 이제 백엔드 서버 없이 브라우저에서 완전히 실행되는 로컬 AI 에이전트가 준비되었습니다!
추가 기능
API 모델 사용하기
아래와 같이 모델 구성을 변경하여 쉽게 API 모델로 전환할 수 있습니다.
const agent = new ai.Agent(
  // await ai.LangModel.newLocal("Qwen/Qwen3-0.6B")
  await ai.LangModel.newStreamAPI(
    "OpenAI",
    "gpt-5-mini",
    "<YOUR_OPENAI_API_KEY>"
  )
);
사용 가능한 모델에 나열된 모든 API 모델을 사용할 수 있습니다.
위의 코드는 테스트 목적입니다. 프론트엔드 코드에 API 키를 절대 하드코딩하지 마세요! 예를 들어, 사용자로부터 API 키를 받는 입력 박스를 만들고 해당 키를 사용하여 에이전트를 초기화하는 것을 고려하세요.
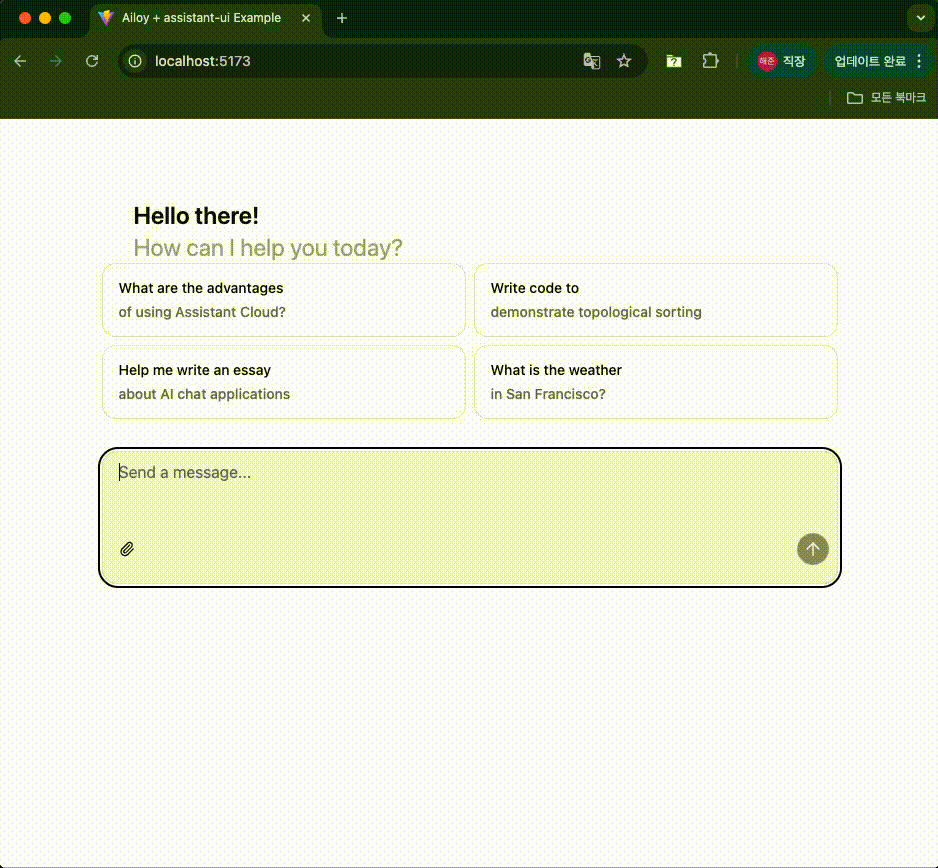
멀티모달 입력
이미지 입력은 현재 이미지 입력에 설명된 대로 API 모델에서만 지원됩니다.
assistant-ui의 첨부 파일 문서의 가이드를 따라 파일 첨부 기능을 활성화하세요.
첨부 파일 UI 컴포넌트를 설치합니다.
$ npx shadcn@latest add "https://r.assistant-ui.com/attachment"
Thread 컴포넌트에서 했던 것과 유사하게 컴파일 오류를 수정하려면
src/components/assistant-ui/attachment.tsx를 아래와 같이 수정합니다.
import { type PropsWithChildren, useEffect, useState, type FC } from "react";
import { CircleXIcon, FileIcon, PaperclipIcon } from "lucide-react";
src/components/assistant-ui/thread.tsx를 수정하여 첨부 파일 컴포넌트를
추가합니다.
import {
  ComposerAttachments,
  ComposerAddAttachment,
  UserMessageAttachments,
} from "./attachment";

// Composer 업데이트
const Composer: FC = () => {
  return (
    <div ...>
      <ThreadScrollToBottom />
      <ThreadPrimitive.Empty>
        <ThreadWelcomeSuggestions />
      </ThreadPrimitive.Empty>
      <ThreadPrimitive.Empty>
        <ComposerAttachments />
      </ThreadPrimitive.Empty>
      <ComposerPrimitive.Root ...>
        // ...
      </ComposerPrimitive.Root>
    </div>
  )
}

// ComposerAction 업데이트
const ComposerAction: FC = () => {
  return (
    <div ...>
      <ThreadPrimitive.If running={false}>
        <ComposerAddAttachment />
      </ThreadPrimitive.If>
      // ...
    </div>
  )
}

// UserMessage 업데이트
const UserMessage: FC = () => {
  return (
    <MessagePrivitive.Root asChild>
      <motion.div
        // ...
      >
        <UserMessageAttachments />
        <UserActionBar />
        // ...
      </motion.div>
    </MessagePrivitive.Root>
  )
}
src/AiloyRuntimeProvider.tsx에서 이미지 콘텐츠를 처리하도록 onNew를
업데이트합니다.
const onNew = async (message: AppendMessage) => {
  if (agent === undefined) throw new Error("Agent is not initialized yet");

  let userContents: ai.Part[] = [];

  // 첨부 파일 추가
  if (message.attachments !== undefined) {
    for (const attach of message.attachments) {
      // 이미지 콘텐츠 추가
      if (attach.type === "image") {
        const ab = await attach.file!.arrayBuffer();
        const arr = new Uint8Array(ab);
        const imagePart = ai.imageFromBytes(arr);
        userContents.push(imagePart);
      }
      // 다른 타입은 건너뜀
    }
  }

  // 텍스트 콘텐츠 추가
  if (message.content[0]?.type !== "text")
    throw new Error("Only text messages are supported");
  userContents.push({ type: "text", text: message.content[0].text });

  // 새 사용자 메시지 추가
  const newMessage: ai.Message = {
    role: "user",
    contents: userContents,
  };
  setMessages((prev) => [...prev, newMessage]);

  // ...
이미지 파일 첨부를 처리하기 위해 useExternalStoreRuntime에 adapters를
추가합니다.
import {
  CompositeAttachmentAdapter,
  SimpleImageAttachmentAdapter,
  SimpleTextAttachmentAdapter,
} from "@assistant-ui/react";

const runtime = useExternalStoreRuntime({
  // ...
  adapters: {
    attachments: new CompositeAttachmentAdapter([
      new SimpleImageAttachmentAdapter(),
      new SimpleTextAttachmentAdapter(),
    ]),
  },
});
메시지 변환 로직은 이미 이미지 타입 콘텐츠를 처리하므로 추가 수정이 필요 없습니다.
이제 이미지를 첨부하고 질문할 수 있습니다.
추론(Reasoning)
assistant-ui의 Reasoning 문서의 가이드를 따라 Reasoning UI를 활성화하세요.
Reasoning UI 컴포넌트를 설치합니다.
$ npx assistant-ui@latest add reasoning
src/components/assistant-ui/thread.tsx의 MessagePrimitive.Parts 컴포넌트에
Reasoning과 ReasoningGroup 컴포넌트를 전달합니다:
import {Reasoning, ReasoningGroup} from "./reasoning";

const AssistantMessage: FC = () => {
  return (
    <MessagePrimitive.Root asChild>
      // ...
      <div className="...">
        <MessagePrimitive.Parts
          components={{
            // ...
            Reasoning,
            ReasoningGroup,
          }}
        />
      </div>
      // ...
    </MessagePrimitive.Root>
  )
}
다음과 같이 에이전트 구성을 추가하여 추론이 어떻게 시각화되는지 확인할 수 있습니다:
for await (const { delta, finish_reason } of agent.runDelta(
  [...messages, newMessage],
  {
    inference: {
      thinkEffort: "enable",
    },
  }
)) {
  // ...
}
Tool 사용하기
Tool 사용하기에 설명된 것과 동일한 API로 에이전트에 Tool을 등록할 수 있습니다. 간단한 Tool을 추가하고 Tool Call과 결과가 어떻게 처리되는지 살펴보겠습니다.
calculator-add Tool을 정의하고 아래와 같이 에이전트에 등록합니다.
const agent = ...;

const tool = ai.Tool.newFunction(
  {
    name: "calculator-add",
    description: "두 숫자를 받아서 더한 값을 반환합니다.",
    parameters: {
      type: "object",
      properties: {
        a: {
          type: "integer",
          description: "첫 번째 숫자",
        },
        b: {
          type: "integer",
          description: "두 번째 숫자",
        },
      },
    },
  },
  async (args: { a: number; b: number }) => {
    return args.a + args.b;
  }
);
agent.addTool(tool);
calculator-add Tool을 호출할 수 있는 프롬프트로 Tool Call을 테스트합니다.
MCP Tool 사용하기
스트리밍 가능한 HTTP 트랜스포트를 통해 MCP 클라이언트를 초기화하고 에이전트에서 해당 Tool을 사용할 수 있습니다. 브라우저에서는 stdio 프로세스를 실행할 수 없으므로 stdio 트랜스포트는 지원되지 않습니다.
브라우저에서 MCP 서버에 연결할 때 서버가 CORS 미들웨어를 사용하여 출처를
허용하고 Mcp-Session-Id와 같은 필수 헤더를 노출하도록 구성되어 있는지
확인하세요. 자세한 내용은
공식 문서를
참조하세요.
MCP Tool 가용성을 테스트하기 위한 간단한 MCP 서버를 만들어 보겠습니다.
다음 패키지를 설치합니다.
$ npm install express cors zod @modelcontextprotocol/sdk
$ npm install --save-dev @types/express @types/cors
src/mcpServer.ts를 생성하고 다음 코드를 작성합니다:
import { McpServer } from "@modelcontextprotocol/sdk/server/mcp.js";
import { StreamableHTTPServerTransport } from "@modelcontextprotocol/sdk/server/streamableHttp.js";
import cors from "cors";
import express, { type Request, type Response } from "express";
import * as z from "zod/v3";

// MCP 서버 생성
const server = new McpServer({
  name: "demo-server",
  version: "1.0.0",
});

// 덧셈 Tool 추가
server.registerTool(
  "add",
  {
    title: "Addition Tool",
    description: "두 숫자를 더합니다",
    inputSchema: { a: z.number(), b: z.number() },
  },
  async ({ a, b }) => ({
    content: [{ type: "text", text: String(a + b) }],
  })
);

const app = express();
app.use(express.json());
app.use(
  cors({
    origin: "*",
    exposedHeaders: "*",
  })
);

app.post("/mcp", async (req: Request, res: Response) => {
  try {
    const transport = new StreamableHTTPServerTransport({
      sessionIdGenerator: undefined,
    });
    res.on("close", () => {
      transport.close();
      server.close();
    });
    await server.connect(transport);
    await transport.handleRequest(req, res, req.body);
  } catch (error) {
    if (!res.headersSent) {
      res.status(500).json({
        jsonrpc: "2.0",
        error: {
          code: -32603,
          message: "Internal server error",
        },
        id: null,
      });
    }
  }
});

const PORT = 3000;
app.listen(PORT, () => {
  console.log(`MCP server listening on ${PORT}`);
});
현재 최신 버전의 MCP SDK가 zod v4와 호환되지 않으므로 zod/v3를 사용했습니다.
(관련 이슈)
이 MCP 서버는 스트리밍 가능한 HTTP 트랜스포트에서 실행되며 두 숫자를 받아 더한
값을 반환하는 단일 Tool add를 가지고 있습니다. 서버는 localhost:3000에서
실행되며 모든 출처를 허용하는 CORS 미들웨어를 사용합니다.
vite-node를 설치하고 package.json에 이 서버를 vite-node으로 실행하는
스크립트를 추가합니다.
$ npm install --save-dev vite-node
  "scripts": {
    // ...
    "dev:mcp": "vite-node src/mcpServer.ts"
  }
MCP 서버를 실행합니다.
$ npm run dev:mcp
> my-project@0.0.0 dev:mcp > vite-node src/mcpServer.ts
MCP server listening on 3000
src/AiloyRuntimeProvider.tsx에서 에이전트가 초기화된 후 MCP Tool을 추가합니다.
const agent = ...;

const mcpClient = await ai.MCPClient.streamableHttp("http://localhost:3000/mcp");
agent.addTools(mcpClient.tools);
MCP Tool이 예상대로 작동하는지 확인합니다.
벡터 스토어 사용하기
문서를 활용한 RAG에 설명된 것과 동일한 API를 사용하여 Ailoy Web에서 벡터 스토어와 상호작용할 수 있습니다.
로컬 임베딩 모델과 Faiss와 같은 인메모리 벡터 스토어를 결합하면 사용자의 브라우저 내에서 완전히 실행되는 완전한 클라이언트 측 RAG 애플리케이션을 구축할 수 있습니다—백엔드 서버가 필요 없습니다. 이 접근 방식은 프라이버시를 보호하고 오프라인 지원이 가능한 AI 어시스턴트에 이상적입니다.
EmbeddingModel 생성하기
import * as ai from "ailoy-web";

const em = await ai.EmbeddingModel.newLocal("BAAI/bge-m3");
VectorStore 생성하기
import * as ai from "ailoy-web";

// 인메모리 Faiss 벡터스토어 사용
const vectorstore = await ai.VectorStore.newFaiss(1024);

// 외부 ChromaDB 서버 사용
const vectorstore = await ai.VectorStore.newChroma(
  "http://localhost:8000", // ChromaDB 엔드포인트로 교체
  "my-collection",  // 대상 컬렉션 이름
);
ChromaDB와 같은 외부 벡터 스토어를 사용할 때 출처를 허용하도록 CORS 미들웨어가 구성되어 있는지 확인하세요. ChromaDB의 경우 CORS 구성을 참조하세요.
문서 삽입하기
문서를 검색하기 전에 선택적 메타데이터와 함께 벡터 스토어에 삽입해야 합니다.
일반적으로 더 나은 검색 정확도를 위해 삽입 전에 텍스트를 더 작은 조각으로 청킹합니다.
const items = [
  {
    document:
      "BGE M3는 밀집 검색, 어휘 매칭 및 다중 벡터 상호작용을 지원하는 임베딩 모델입니다.",
    metadata: { topic: "bge-m3" },
  },
  {
    document:
      "BM25는 각 문서에 나타나는 쿼리 용어를 기반으로 문서 집합의 순위를 매기는 백 오브 워즈 검색 함수입니다",
    metadata: { topic: "bm25" },
  },
];

for (const item of items) {
  const embedding = await em.infer(item.document);
  const result = await vectorstore.addVector({ embedding, ...item });
  console.log(result); // 예: "1"
}
문서 검색하기
벡터 임베딩을 사용하여 계산된 유사도 점수로 가장 관련성 높은 문서를 검색할 수 있습니다.
const queryEmbedding = await em.infer("BGE-M3란 무엇인가요?");
// 쿼리와 가장 유사한 상위 1개 항목 검색
const retrievedItems = await vectorstore.retrieve(queryEmbedding, 1);
console.log(retrievedItems);
// 예상: "bge-m3" 관련 문서 반환
벡터 스토어 비우기
벡터 스토어의 모든 항목을 재설정하거나 제거해야 하는 경우:
await vectorstore.clear();